Vanilla Pudding
Rich and creamy vanilla pudding can be made from scratch using just a few basic ingredients! Enjoy the pudding as is, or add it to your favorite parfaits, trifles, and more.

I believe there’s a time and place for store-bought shortcuts with vanilla pudding mix – like with my chocolate chip pudding cookies or banana pudding cheesecake.
But if you’re craving ultra smooth, rich, and creamy pudding with a pure vanilla flavor, then I highly recommend making it from scratch.
This homemade vanilla pudding tastes incredibly decadent despite being made with just a few basic ingredients. There are two full teaspoons of vanilla extract in this recipe, which lend the pudding a distinct vanilla flavor.
My husband and I love this old-fashioned pudding as is, but it’s also delicious with a dollop of whipped cream and a handful of fresh berries on top. This pudding can also be used to make banana pudding, parfaits, trifles, icebox cakes, and more!

Recipe Ingredients
- Granulated Sugar: There’s just ¾ cup of sugar in the entire recipe. The pudding is definitely sweet, but not so sweet that the vanilla flavor is masked.
- Cornstarch: Is used to thicken the pudding and make it silky smooth. There’s no good substitute for cornstarch, so don’t omit it!
- Egg Yolks: You’ll need four egg yolks for this recipe. Transfer the egg whites to an airtight container and scramble them for breakfast tomorrow morning or use them for another recipe like my coconut cupcakes.
- Heavy Whipping Cream: Should be at least 36% fat. This makes the pudding extra rich and creamy.
- Whole Milk: Creates a richer, better-tasting pudding. I don’t recommend using low-fat milk because it will make the pudding thinner.
- Butter: Adds a little extra flavor and richness to the pudding. I use unsalted butter, because it’s what I keep on hand, but salted butter would work too.
- Vanilla Extract: Pure vanilla extract is preferred since it’s the star ingredient! Feel free to use vanilla bean paste or even a fresh vanilla bean.

How To Make Vanilla Pudding
- Add the cornstarch and sugar to a saucepan and whisk to combine.
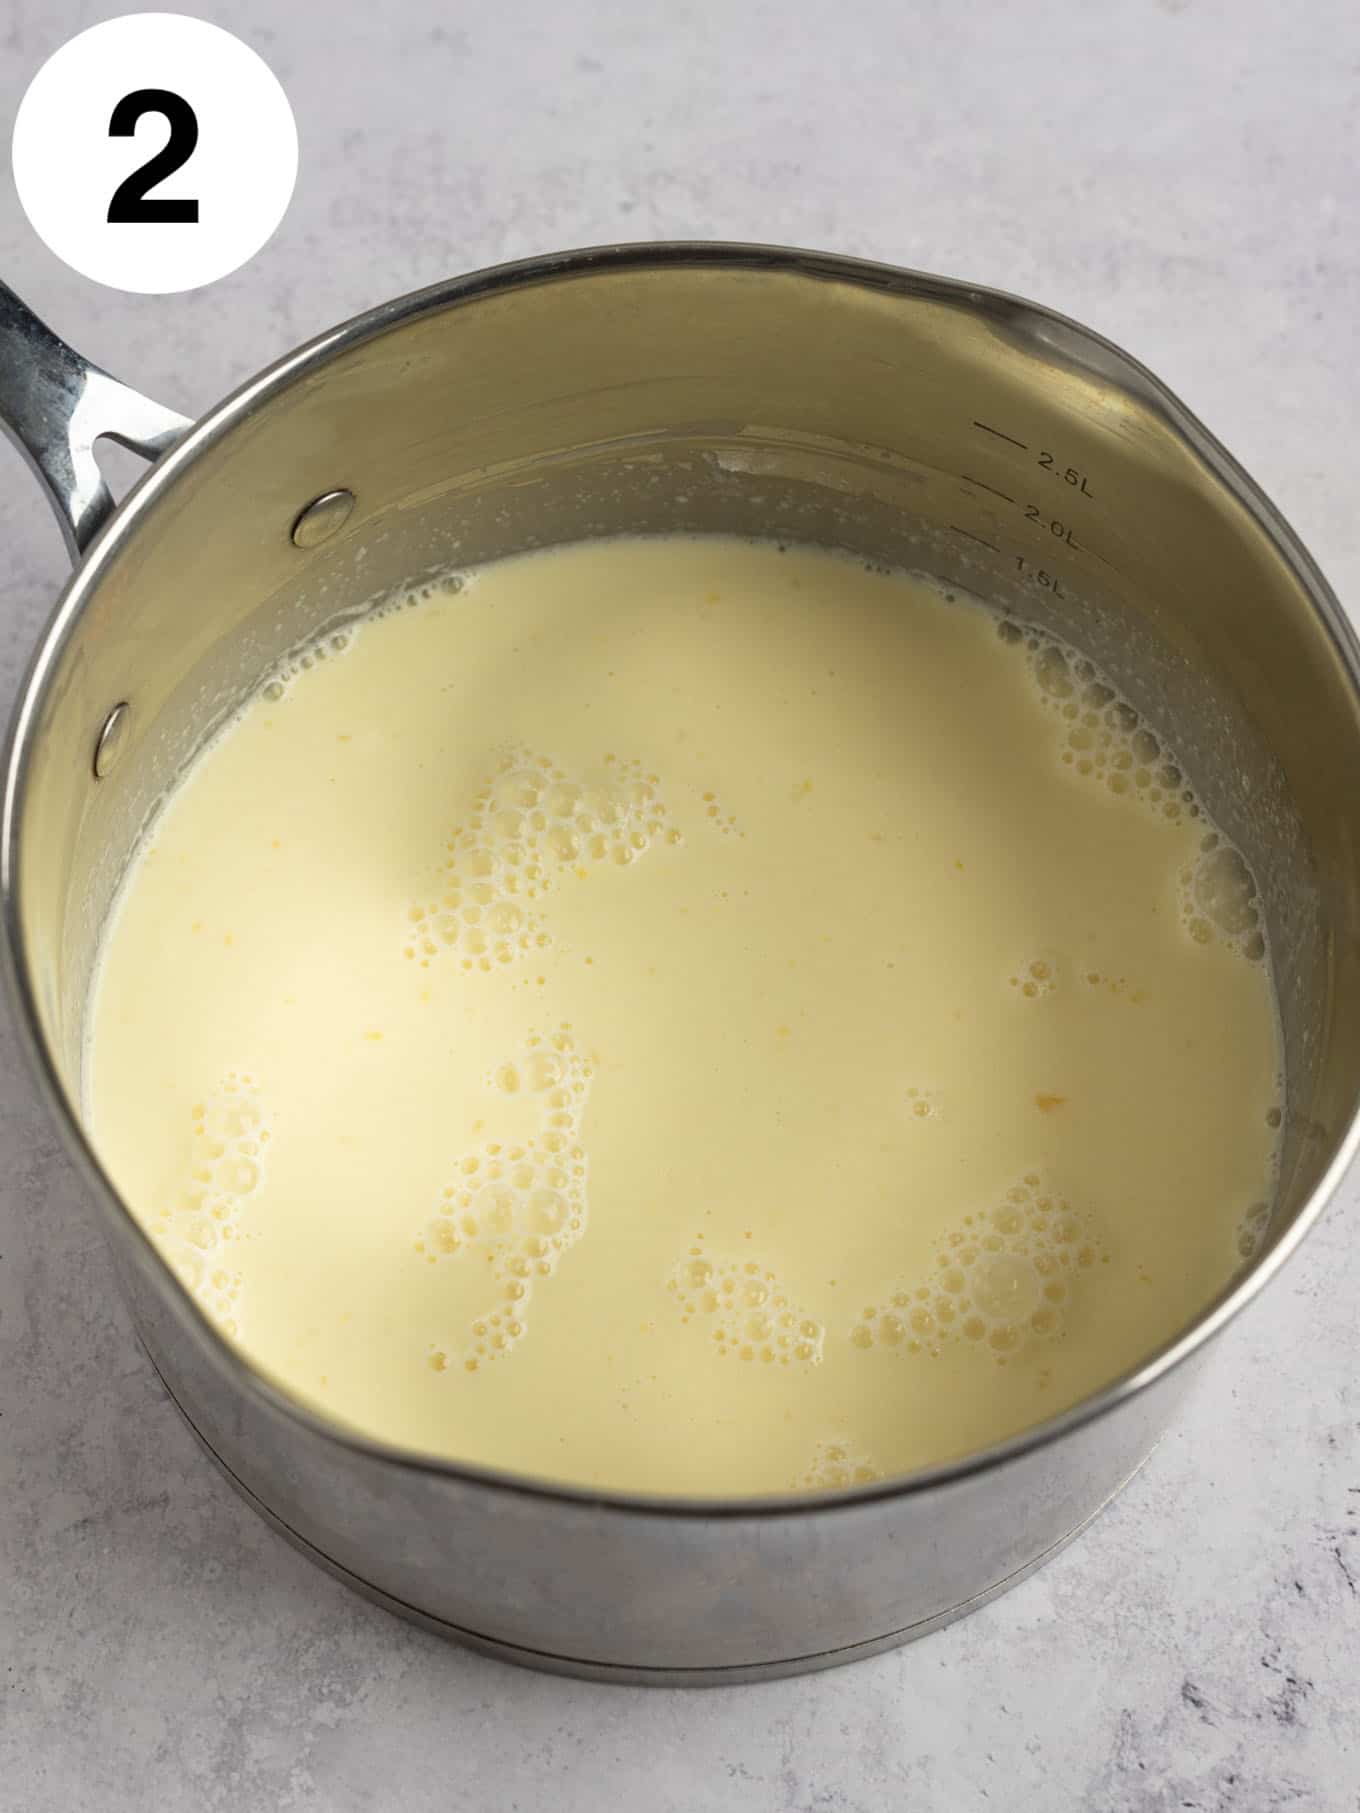
- In a large mixing bowl, whisk together the egg yolks, milk, and heavy whipping cream. Then, pour the egg mixture into the saucepan and mix until fully combined with the dry ingredients.


- Place the saucepan over medium heat and bring the mixture to a boil. Make sure to stir it regularly as the mixture heats up! I like to use a rubber spatula to scrape around the bottom and sides of the saucepan and a whisk to make sure it cooks evenly. Once it comes to a boil, let it boil for 1 minute.
- Remove the saucepan from the heat, stir in the butter and vanilla extract, then pour the pudding through a fine mesh sieve to remove any lumps.


- Place a piece of plastic wrap directly on top of the pudding (this will prevent it from forming a skin on top) and let it cool to room temperature.
- Once cool, transfer to the fridge and chill until the pudding has thickened. I usually let mine chill for about 2 to 3 hours before serving.

Frequently Asked Questions
If stored in the fridge in an airtight container, the pudding will last up to 3 days.
Whole milk is best for a rich, creamy pudding. Lower-fat milks aren’t as flavorful and will make the pudding runnier.
Yes, it’s possible to overcook pudding! You’ll know you’ve overcooked yours if the mixture splits (i.e. looks or tastes grainy). To prevent this from happening, stir the pudding mixture continually as it comes to a boil. Then, boil the pudding for just 1 minute. That’s all the time it takes to cook the pudding!

Cooking Tips
- Do not increase the heat! If you do, the pudding will cook too quickly and turn out grainy once it sets up.
- For best results, use a saucepan with a heavy bottom. You want one that distributes heat well and doesn’t have any “hot spots” where food tends to burn.
- When you cover the pudding, make sure the plastic wrap is actually touching it. This will prevent a skin from forming on top. Trust me, you don’t want that!

Vanilla Pudding
Ingredients
- ¾ cup granulated sugar (150 grams)
- ¼ cup cornstarch (32 grams)
- 4 large egg yolks
- ½ cup heavy whipping cream (120 ml)
- 2 ½ cups whole milk (600 ml)
- 2 tablespoons unsalted butter sliced into two pieces (30 grams, or ¼ stick)
- 2 teaspoons pure vanilla extract
Instructions
- In a large saucepan, whisk the sugar and cornstarch together until well combined. Set aside.
- In a separate large mixing bowl or measuring cup, lightly beat the egg yolks. Whisk in the heavy cream until well combined, then whisk in the milk.
- Slowly pour the wet ingredients into the saucepan with the dry ingredients and whisk until fully combined.
- Place the saucepan over medium heat and bring to a boil, stirring/whisking often (I recommend using a rubber spatula to scrape around the bottom and sides of the pan several times). Allow to boil for one minute; the mixture should be pretty thick at this point. Do not increase the heat or boil too long! This can cause the pudding to turn out grainy.
- Remove from the heat and stir in the butter, one tablespoon at a time, then stir in the vanilla extract.
- Strain the mixture through a fine-mesh strainer into a heat-proof bowl.
- Cover with plastic wrap, placing the plastic wrap directly on the surface of the pudding to prevent it from forming a skin. Allow to cool to room temperature, about 2 hours, then refrigerate for 2 to 3 hours or until thoroughly chilled.
- Serve as is, or top with whipped cream and your favorite toppings!


Can this pudding be used to make a pie?
This recipe wouldn’t be thick enough for a pie. My pastry cream recipe is similar to this one, but it’s thicker and works great as a pie filling 🙂